0 artículo(s)
Ver cesta
No tiene artículos en su carrito de compras.
Whether you’re confirming a repair, isolating a line for maintenance, or preventing backflow during upstream work, Torquer® mechanical test plugs provide a fast, reusable way to seal or block a pipe. This guide explains what they do, how to size them, common use cases, safety basics, and when to call a professional.
A Torquer® plug is a mechanical expansion plug: tightening the plug compresses a sealing element so it expands radially to grip the pipe’s interior wall. Unlike single‑use devices, mechanical plugs can be installed, removed, and reused.
Typical applications include:
Temporary line isolation during maintenance or cleaning
Block-and-test scenarios to verify section integrity
Backflow prevention during upstream work
Bypass setups where one leg of a system must remain dry
Correct sizing is the difference between a quick, clean test and a dangerous blowout.
Measure the pipe’s inside diameter (ID) at the install location. Clay, cast iron, and PVC nominal sizes can differ slightly by standard and SDR.
Match the plug’s expansion range to your measured ID. The plug should seat squarely with adequate engagement depth.
Check end conditions: Be cautious with chipped bells, out‑of‑round sections, or heavy scale; consider light surface prep for better sealing.
Confirm media and temperature compatibility for the plug’s elastomer and hardware.
Both styles have their place. Mechanical plugs install quickly and don’t require an inflation line or gauge. Inflatable plugs can conform to irregular IDs and reach further distances, but they need air management and careful handling. For routine isolation and short tests at accessible cleanouts or manholes, mechanical Torquer® plugs are a popular, durable choice.

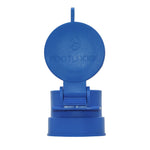
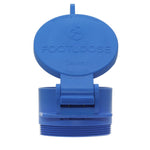
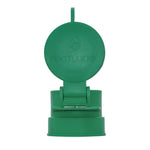
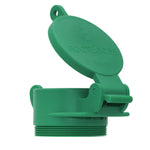
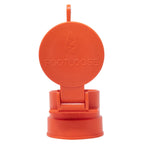
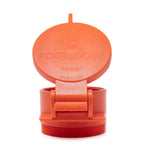
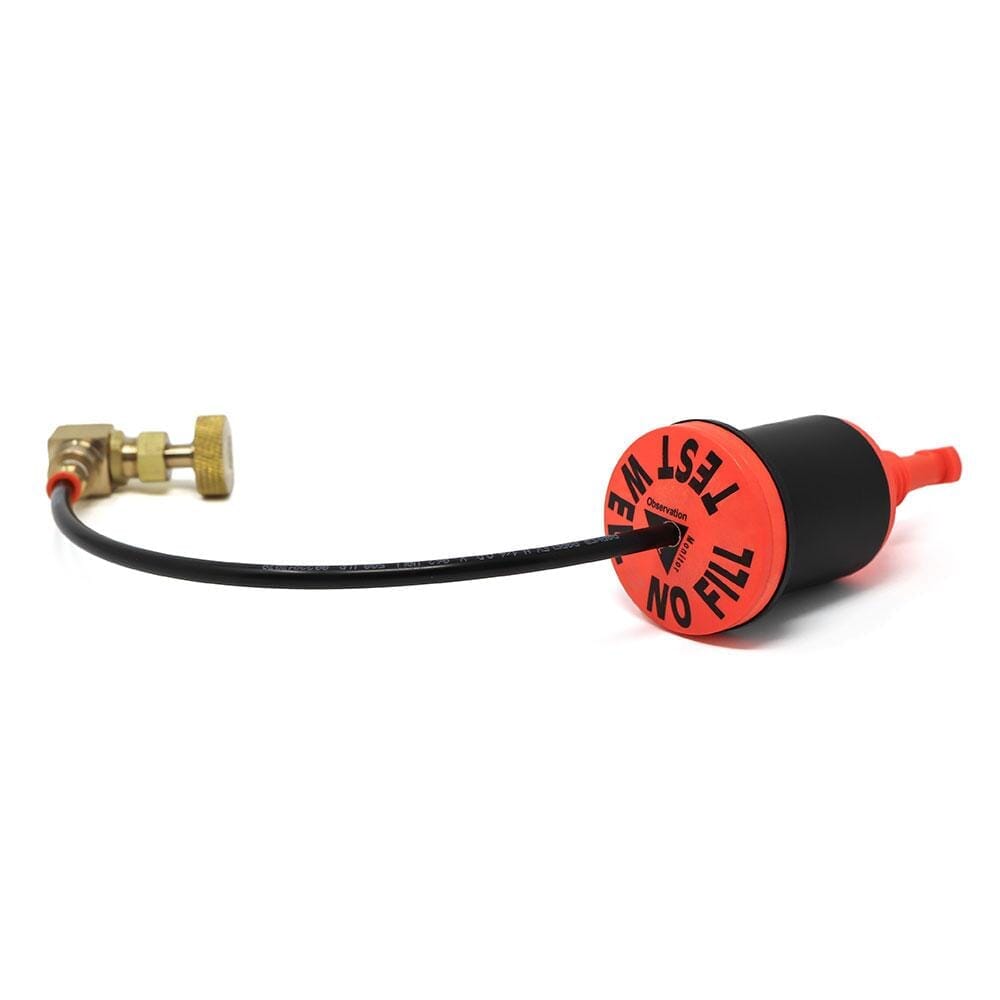
FlushLock® vapor extraction plugs are flush with the well casing (height & OD) to free space in protective casings/manholes. Built from environmentally sustainable prime nylon in high‑visibility safety orange, they use no metal parts or padlocks—a unique security key and hidden access point deliver tamper‑resistant protection. Their Quad‑4 gasket sealing system and domed top (to shed liquids) support reliable vapor‑tight performance. Available in 2", 3", 4", and 6" sizes and made in the USA. Ideal for vapor extraction and product insertion applications.
Shop components:
SOLD SEPARATELY FlushLock® Well Plug Key
4" FlushLock® Vapor Extraction Plug (SCH 40)
2" FlushLock® Locking Well Plug (SCH 40)
Section testing after a repair or install (e.g., isolating a lateral before inspection)
Temporary bypass: holding backflow while cleaning or CCTV work proceeds
Fixture or branch isolation during renovations
Emergency containment: short‑term blocking to limit a spill while crews mobilize
Pair with inspection: After isolating and clearing a line, schedule a camera inspection to document conditions before returning to service.
Working around sewers and pressurized plugs involves real hazards. Always follow company procedures and local codes, wear appropriate PPE, and keep people clear of line‑of‑fire zones.
Confined spaces: Sewer structures often qualify as permit‑required confined spaces—ensure testing, ventilation, attendant, and rescue provisions before entry.
Low‑pressure air testing: If air testing a gravity line, adhere to accepted low‑pressure methods, use calibrated gauges, and secure plugs with rated restraints. Never exceed the plug’s or standard’s limits.
Line‑of‑fire: No one should stand in front of, over, or behind an installed plug. Use tethers and barricades.
Verification: Log the test procedure, pressures, and times; photograph or video the setup when appropriate.
Reminder: Don’t turn this article into a procedure. Use manufacturer instructions and your authority having jurisdiction (AHJ) for exact steps.
Inspect the plug for wear, cuts, or damaged hardware; verify size and rating.
Prepare the pipe end (remove heavy debris; wipe clean).
Insert and seat the plug square to the bore at the desired depth.
Tighten to the specified torque so the seal expands uniformly—don’t over‑tighten.
Verify seal with a light water fill or approved low‑pressure method before full testing.
Monitor the setup during the entire operation. After testing, release pressure fully before loosening and removing the plug.
Two‑plug method: For short section tests, use a plug at each end and a test port between.
Surface protection: Use caps or covers over cleanouts to keep debris out between visits.
Recordkeeping: Store plug serials, sizes, and last inspection dates in your maintenance log.

Bring in a licensed contractor if you suspect structural defects, have repeated backups, or need confined‑space entry. Many pros will document findings with standardized CCTV reports so you can make repair decisions confidently.